Home Aquarium Repairs that Are Easier than You Think
When it comes down to it, aquariums are small, enclosed ecosystems that are extremely delicate, and this makes the proper functioning of the tank and its various components crucial to the well-being of its inhabitants. If you’re an aquatics expert, you might already know the various tips and tricks to home aquarium repair, and if that’s you, great work.
However, if you’re just getting involved in aquariums and you’re a relative novice when it comes to maintenance and repairs, don’t worry. Read our breakdown of some of the most common problems and their fixes. You’ll be surprised by how much you can do at home with just a little bit of knowledge.
Tank Filter Malfunctions
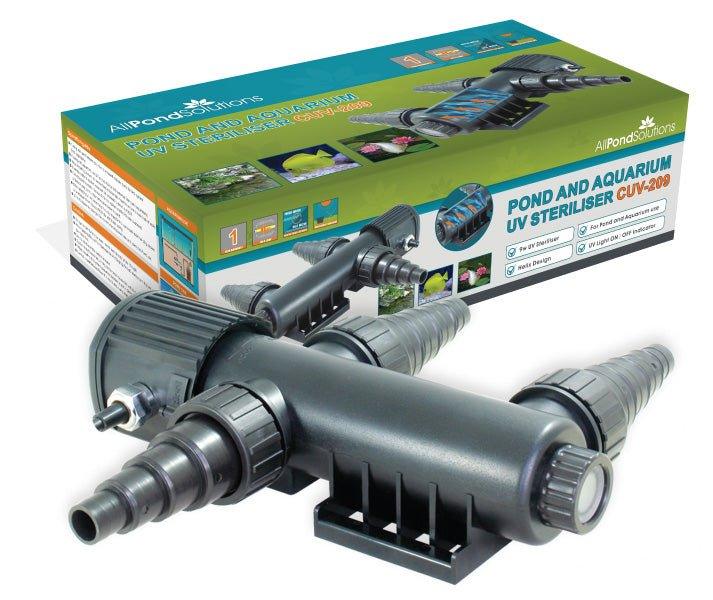
If you’re trying to create a stable ecosystem in your tank, one of the most crucial ways to maintain this is through your tank’s filter. If your filter stops processing water effectively, it could lead to dirty water being passed round your tank, creating a poor water quality for your fish, plants and the other inhabitants of the tank. Therefore, being able to fix the filter when it stops doing its job is crucial.
The simplest thing that can go wrong with a filter is that it becomes clogged and requires cleaning. If this happens, take the filter from the tank, after switching it off at the mains, and then begin separating out the parts. You’ll probably find layers of silt, pieces of vegetation and small pieces of grit that have managed to lodge themselves inside the filter. If the filtration foams can be re-used, clean them off and then put them back in the filter. If you need to replace the new filter, the pads can be purchased by themselves, or you can buy an entirely new filter from our store. Either way, filters are easy to repair and replace.
Leaking Seal
If your aquarium works fine except for the fact you have a leaking seal, don’t worry, you can easily repair this problem if you have a few hours to spare and the right tools for the job. First of all, you’ll need to locate the leak and isolate it with a felt tip pen (that is erasable), then drain the water so that the whole is no longer leaking.
Dry off the water from the whole area and then remove any of the seal that is left there using a razor blade. Once you’ve done that, remove any dust or residue from the area and then reapply the sealant and wait for it to dry. Do no fill the water back up to the top of the tank before the seal has had time to dry fully.
Faltering Fluorescent Light
There are a number of problems that can occur with a simple fluorescent light for an aquarium, and a number of the fixes are relatively trivial if you’re willing to try them out for yourself. Firstly, if you notice that the ends of the strip bulb are black, you simply need to replace the bulb and it will work again. Remember you need to unplug the light from the mains before you touch anything – safety first!
Next, if the light is flickering, you might just need to replace the light’s starter. You should be able to get to this through the back of the bulb (which will need to be removed). Once you’re in, you’ll need to remove the screws that hold the fixture in place, and then you should be able to see the light’s switch, the connector wires and ballast. The ballast is easy to replace if you know the voltage of the original, and this will resolve the flickering. So find a new ballast and match it to the original voltage, and replace it. If it requires as a vastly different installation process to the one you already have it will come with instructions.
So there you have it, some of the most straightforward fixes you can complete on your aquarium from your own home. If you have any of the above problems, you should now be able to fix them yourself and do a great job of it.